Can Nail Polish Cause Fungal Infections? Myths vs. Facts Explained
Can Nail Polish Cause Fungus? Myths vs Facts Nail polish
 Free Fast Shipping on Orders Over $60
Fungal infections can spread quickly, especially through tools that aren’t cleaned properly. If you’ve dealt with nail fungus or want to avoid it altogether, disinfecting your nail tools is an important step in protecting your health.
Whether you’re a pro or doing your own mani-pedi, disinfecting clippers, files, and cuticle pushers is essential. In this guide, you’ll learn how to disinfect nail tools from fungus safely and effectively.
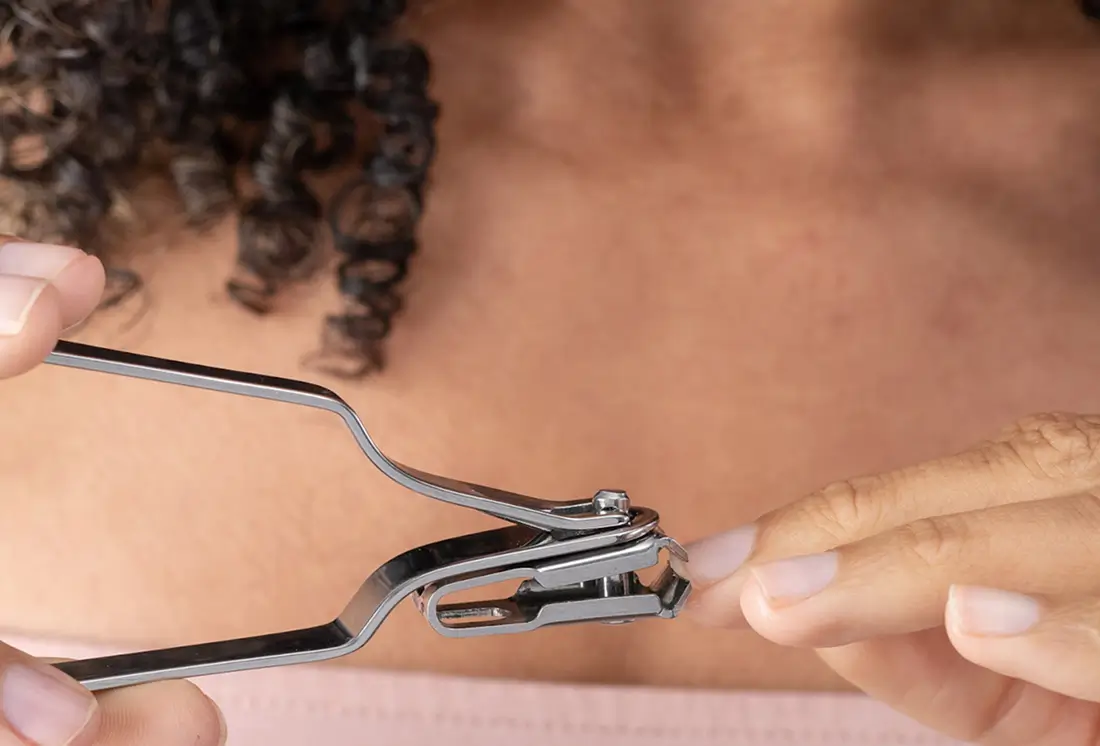

Pro tip: Do not share tools unless you are 100% sure they have been disinfected previously.
Fungus can exist before you notice anything is wrong. Early fungus symptoms may look like slight discoloration or thickening, but once it spreads, treatment becomes more difficult. That’s why properly cleaning nail tools is a key part of both prevention and recovery.Disinfecting nail clippers, even if they “look clean”, is one of the most effective ways to protect your nail health.Disinfecting nail tools might sound like a small step, but when it comes to fungal infections, it makes a big difference. Whether you’re actively treating a nail issue or just being cautious, the way you clean and handle your tools matters.
In this section, we’ll walk you through how to disinfect nail tools from fungus, with clear steps you can follow at home using basic supplies.
Properly cleaning your nail clippers and other tools helps break the cycle of infection and protects healthy nails. Let’s get started.
Before you start disinfecting anything, make sure you have the right tools and products on hand. A clean setup makes the whole process quicker and safer. Here’s what you’ll need:
Start by giving your tools a thorough wash. This first step removes surface debris, oils, and buildup that could block disinfectants from working properly. Use warm water and a gentle soap, and scrub each item with a brush, especially around the cutting edges and handles.
This basic step in cleaning nail clippers and other tools is often skipped, but it’s essential.
Once your tools are clean, it’s time to disinfect them. This is the part that kills fungus, bacteria, and viruses that soap and water can’t reach. Submerge your tools in a hospital-grade disinfectant or 70% isopropyl alcohol for at least 10 minutes.
For at-home care, disinfecting nail clippers is usually enough to prevent infection. While sterilizing nail clippers, aka completely eliminating all microbes, requires more advanced equipment, regular disinfection still goes a long way in keeping fungus from spreading.
Once your tools are disinfected, it’s important to dry them completely. Any leftover moisture can encourage fungus or bacteria to grow again. Use a clean paper towel or cloth to dry each tool carefully.
When everything is dry, store your tools in a clean, dry container. Keeping them separate from other items can help prevent cross-contamination and keep your sanitizing nail tools routine effective in the long run.
For a better understanding, you can watch the following video:
Disinfect tools after every use, not just when they are visibly dirty.
Avoid using tools on infected nails without proper cleaning afterward.
Don’t share nail tools. Even with family.
Replace your tools when they get rusty or corroded.
Use different tools for fingers and toes.
Use this checklist to make sure you’re covering all the basics when it comes to keeping your nail tools clean and safe:
Disinfecting your nail tools isn’t complicated. A few simple steps can help you prevent recurring infections and maintain healthy nails. Whether you’re managing a current issue or aiming for prevention, knowing how to disinfect nail tools from fungus gives you the control to protect your feet at home.
Quick reference table:
| Task | Product/Method | Frequency | Notes |
|---|---|---|---|
| Wash w/ soap | Warm water + brush | After each use | Basic cleaning |
| Disinfect | 70% isopropyl alcohol or a hospital-grade disinfectant | After cleanings | Key for fungus |
| Boil | Water (10 min) | 1× week | Caution: Not for all tools |
| Store | Dry, sealed container | Always | Prevents recontamination |
| Replace | Old/dull tools | Every 6–12 months | Prevents injury and infection |
Fungus is extremely contagious. If tools aren’t properly disinfected, there is a big chance that the fungus will spread to other nails and other people.
70% isopropyl alcohol or a hospital-grade disinfectant is extremely effective in killing fungus on tools.
When using on an infected nail, disinfect the used tool immediately, or you risk spreading the infection.
Good salons respect the client’s health and disinfect after every use. Make sure to always double-check before booking your appointment.


With a strong background in engineering and a passion for creating user-focused solutions, Adrian leads the Swissker development team with precision and innovation. Over the past decade, he has helped design and refine tools that combine cutting-edge technology with everyday practicality. Adrian is dedicated to improving quality of life through well-engineered, safe, and effective solutions, backed by rigorous research and a deep understanding of user needs. When not in the lab, he stays current with emerging trends in personal care, wellness, and health-tech innovation to ensure every product meets the highest standards.
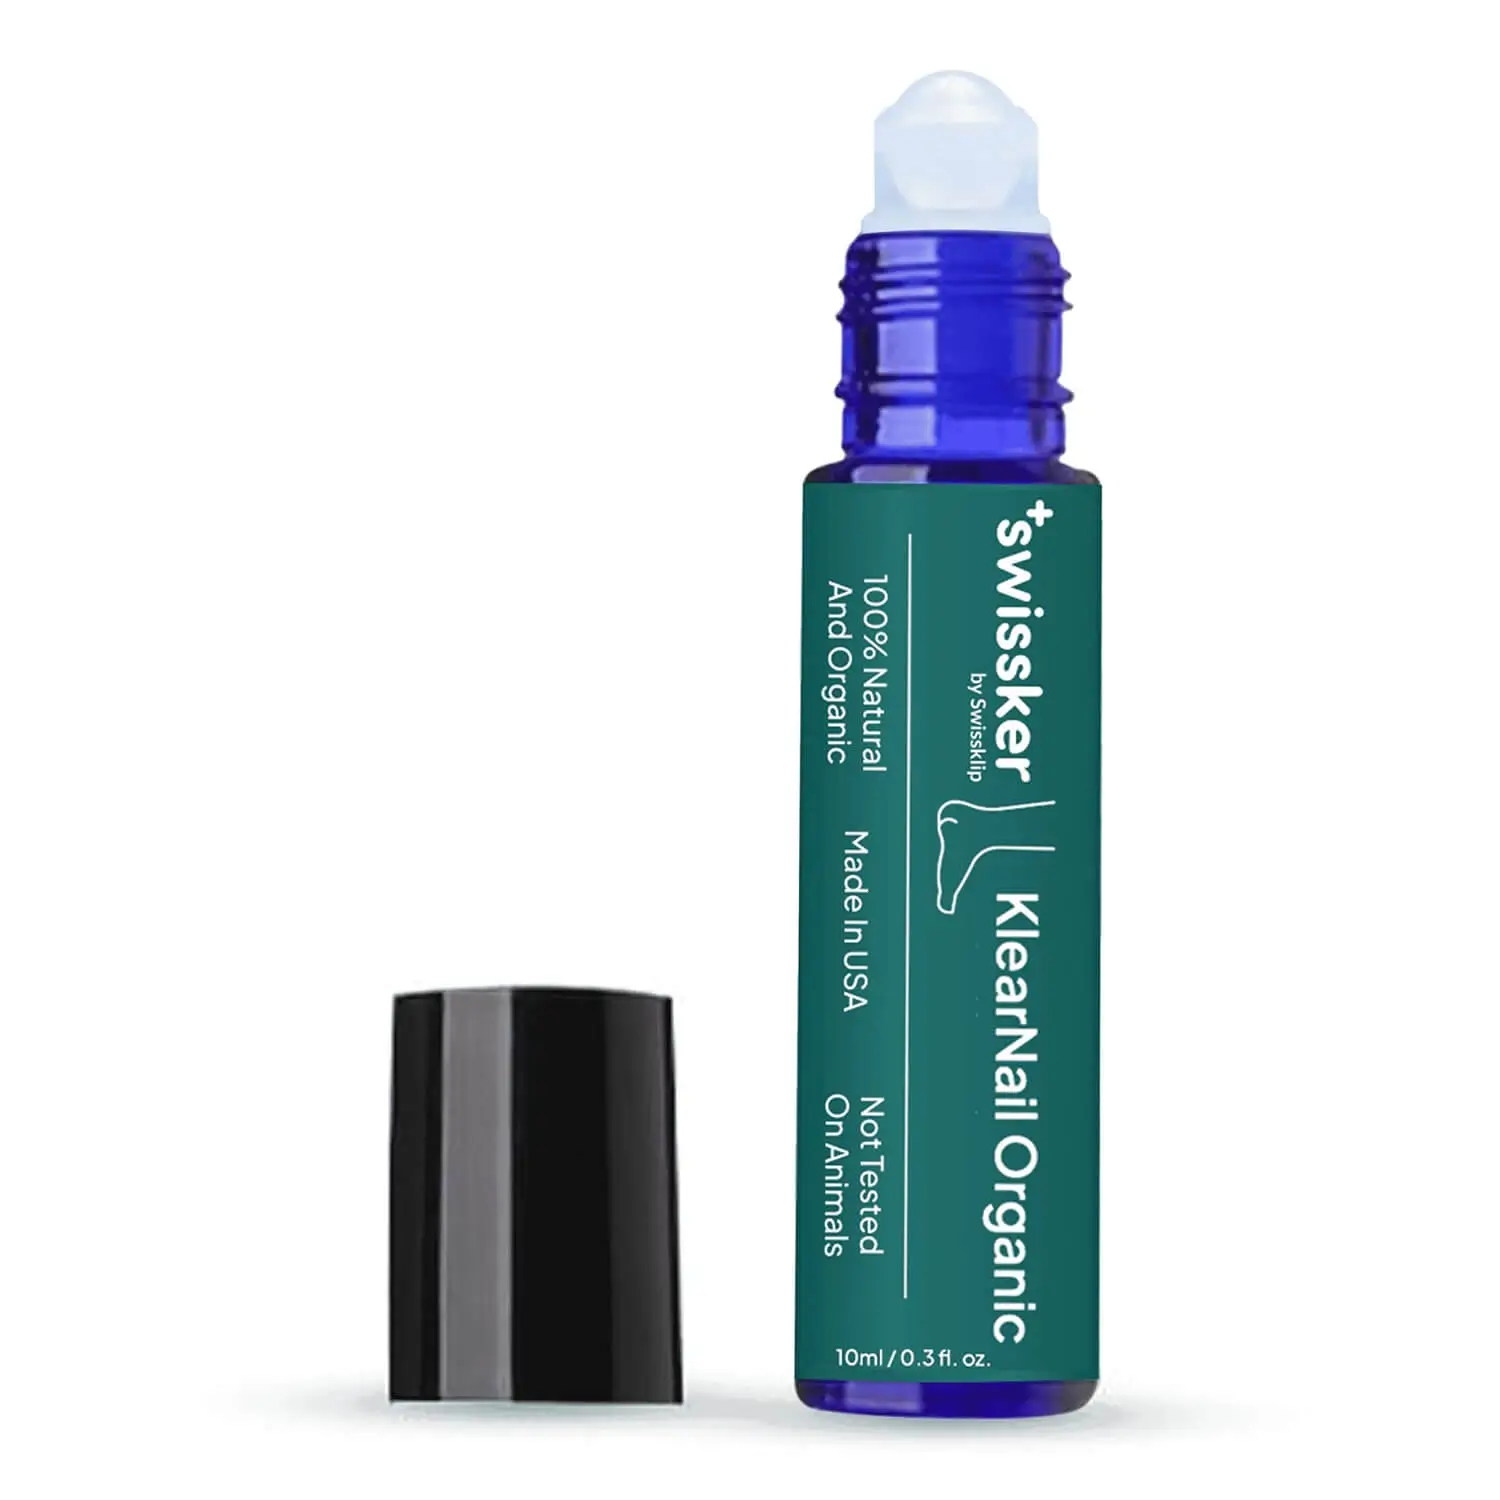

A roll-on solution that kills drug-resistant fungus on contact.
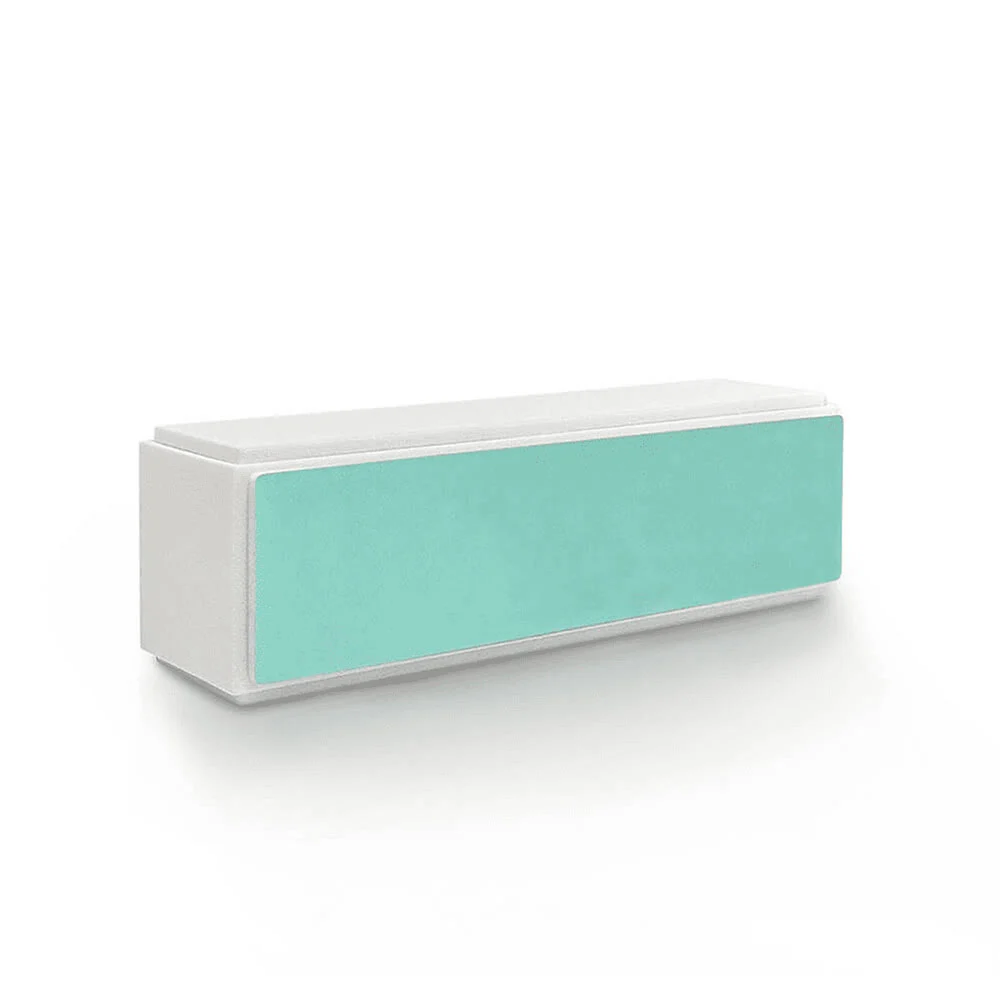

Achieve salon-quality smoothness and a dazzling natural shine
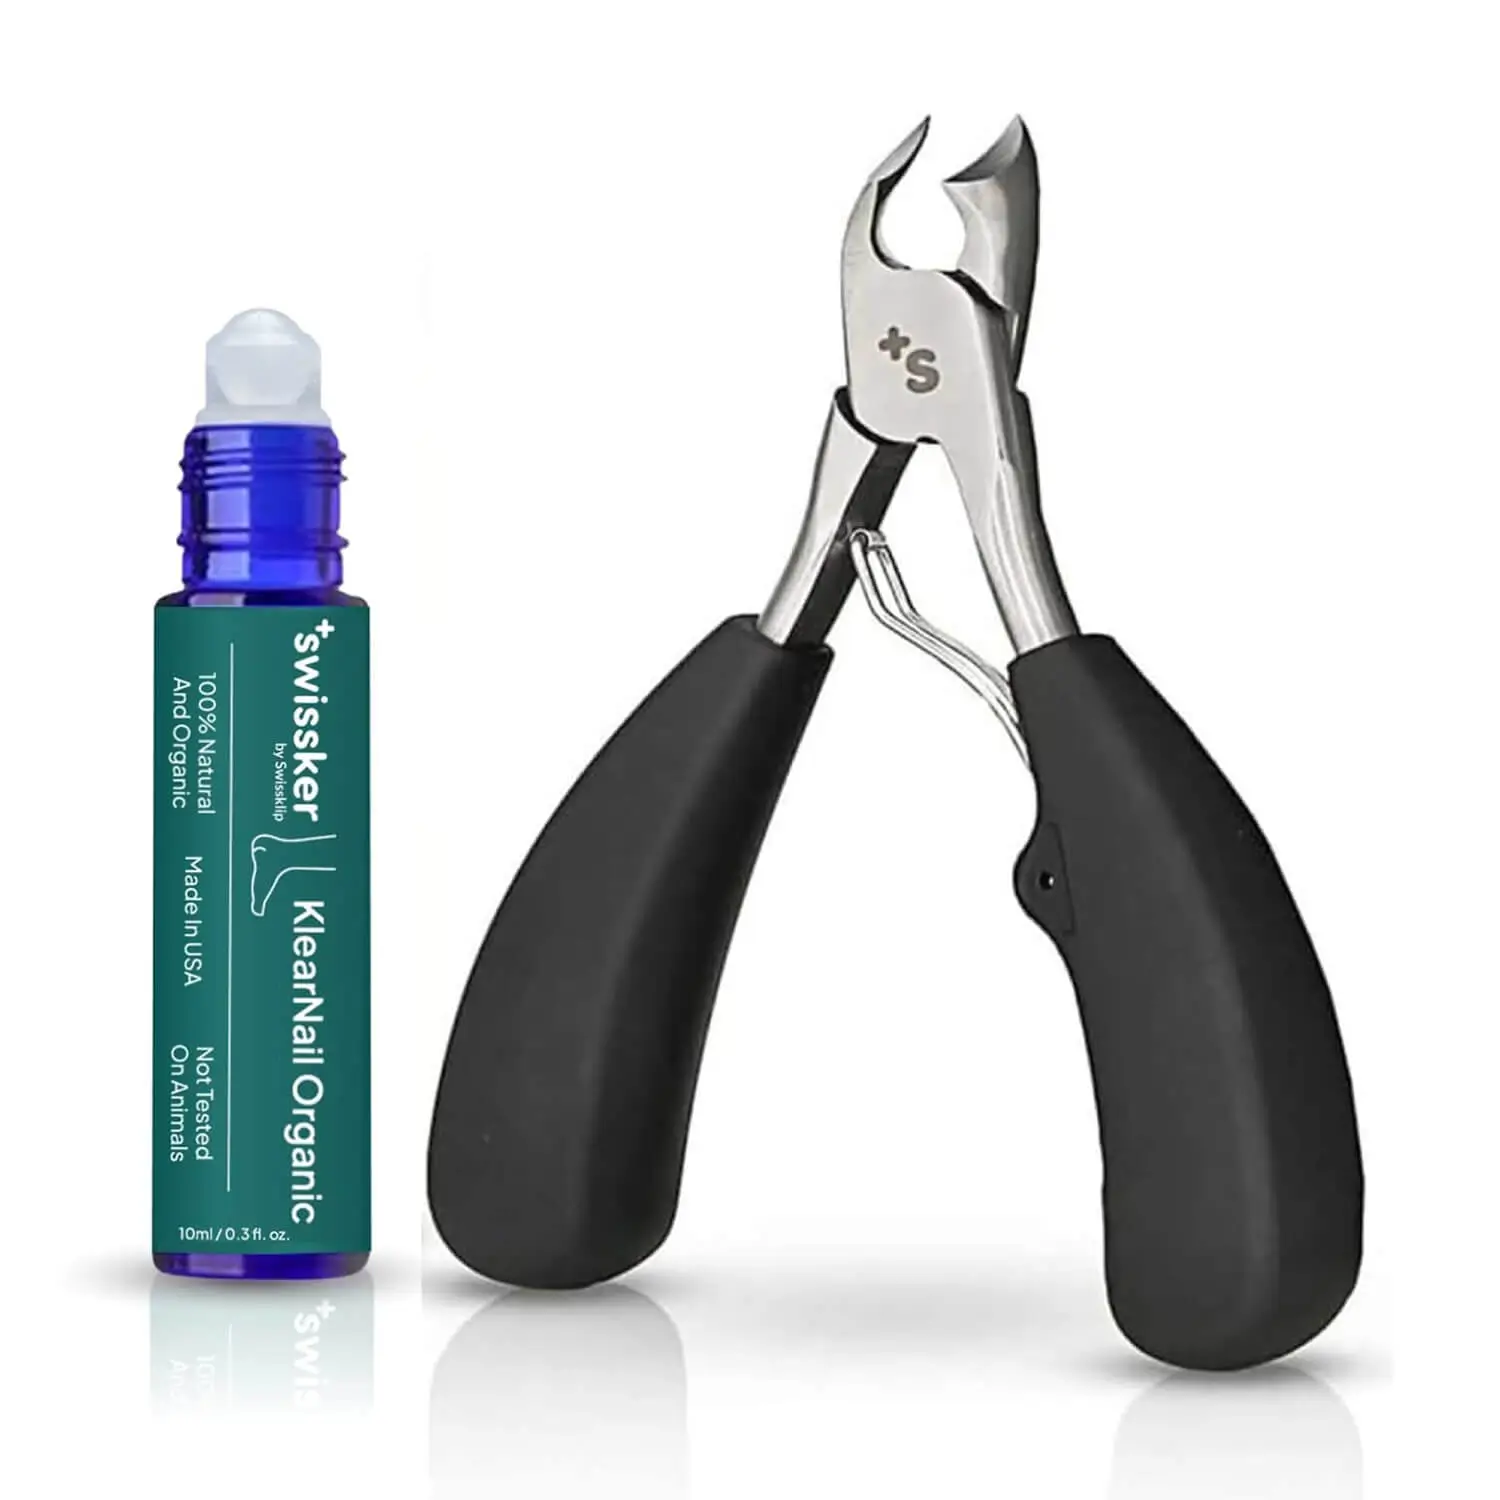

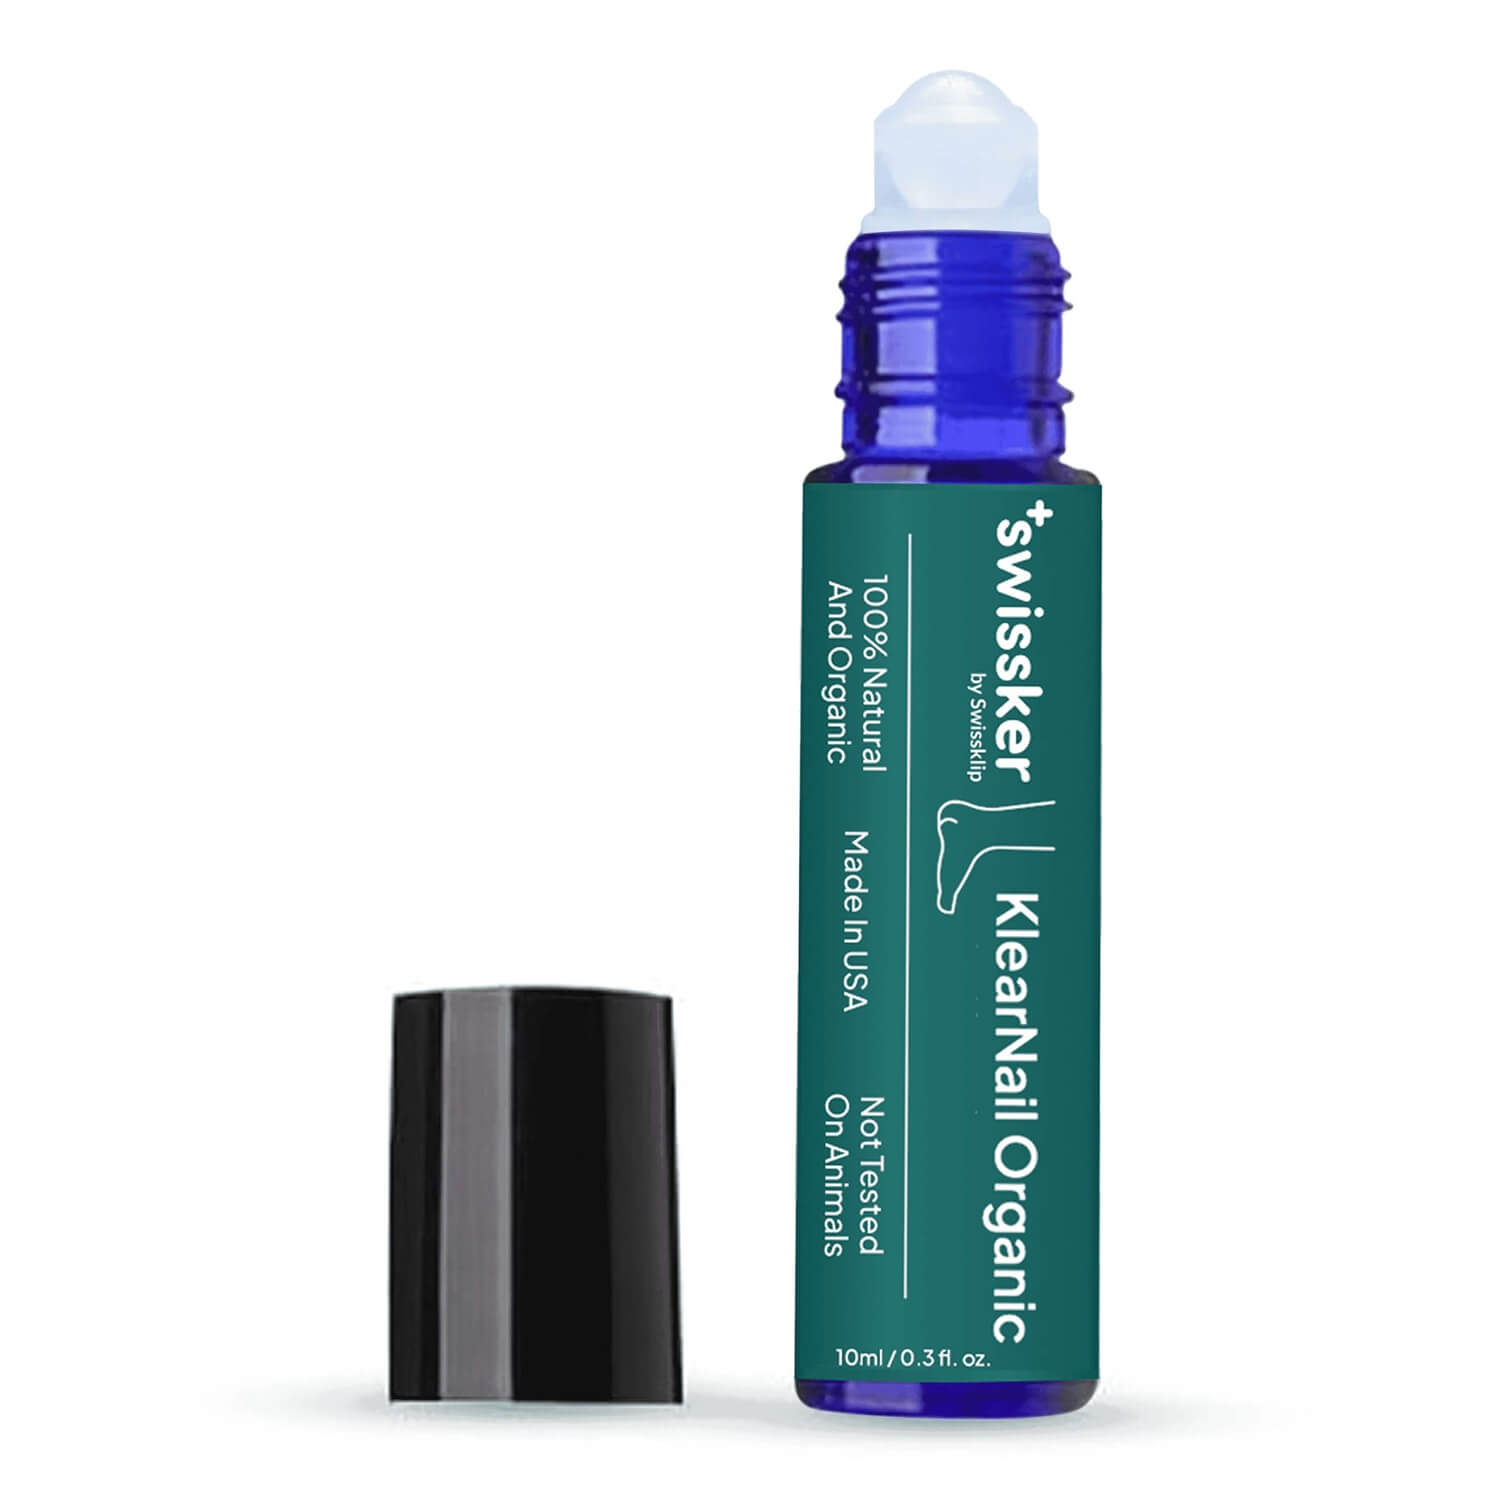

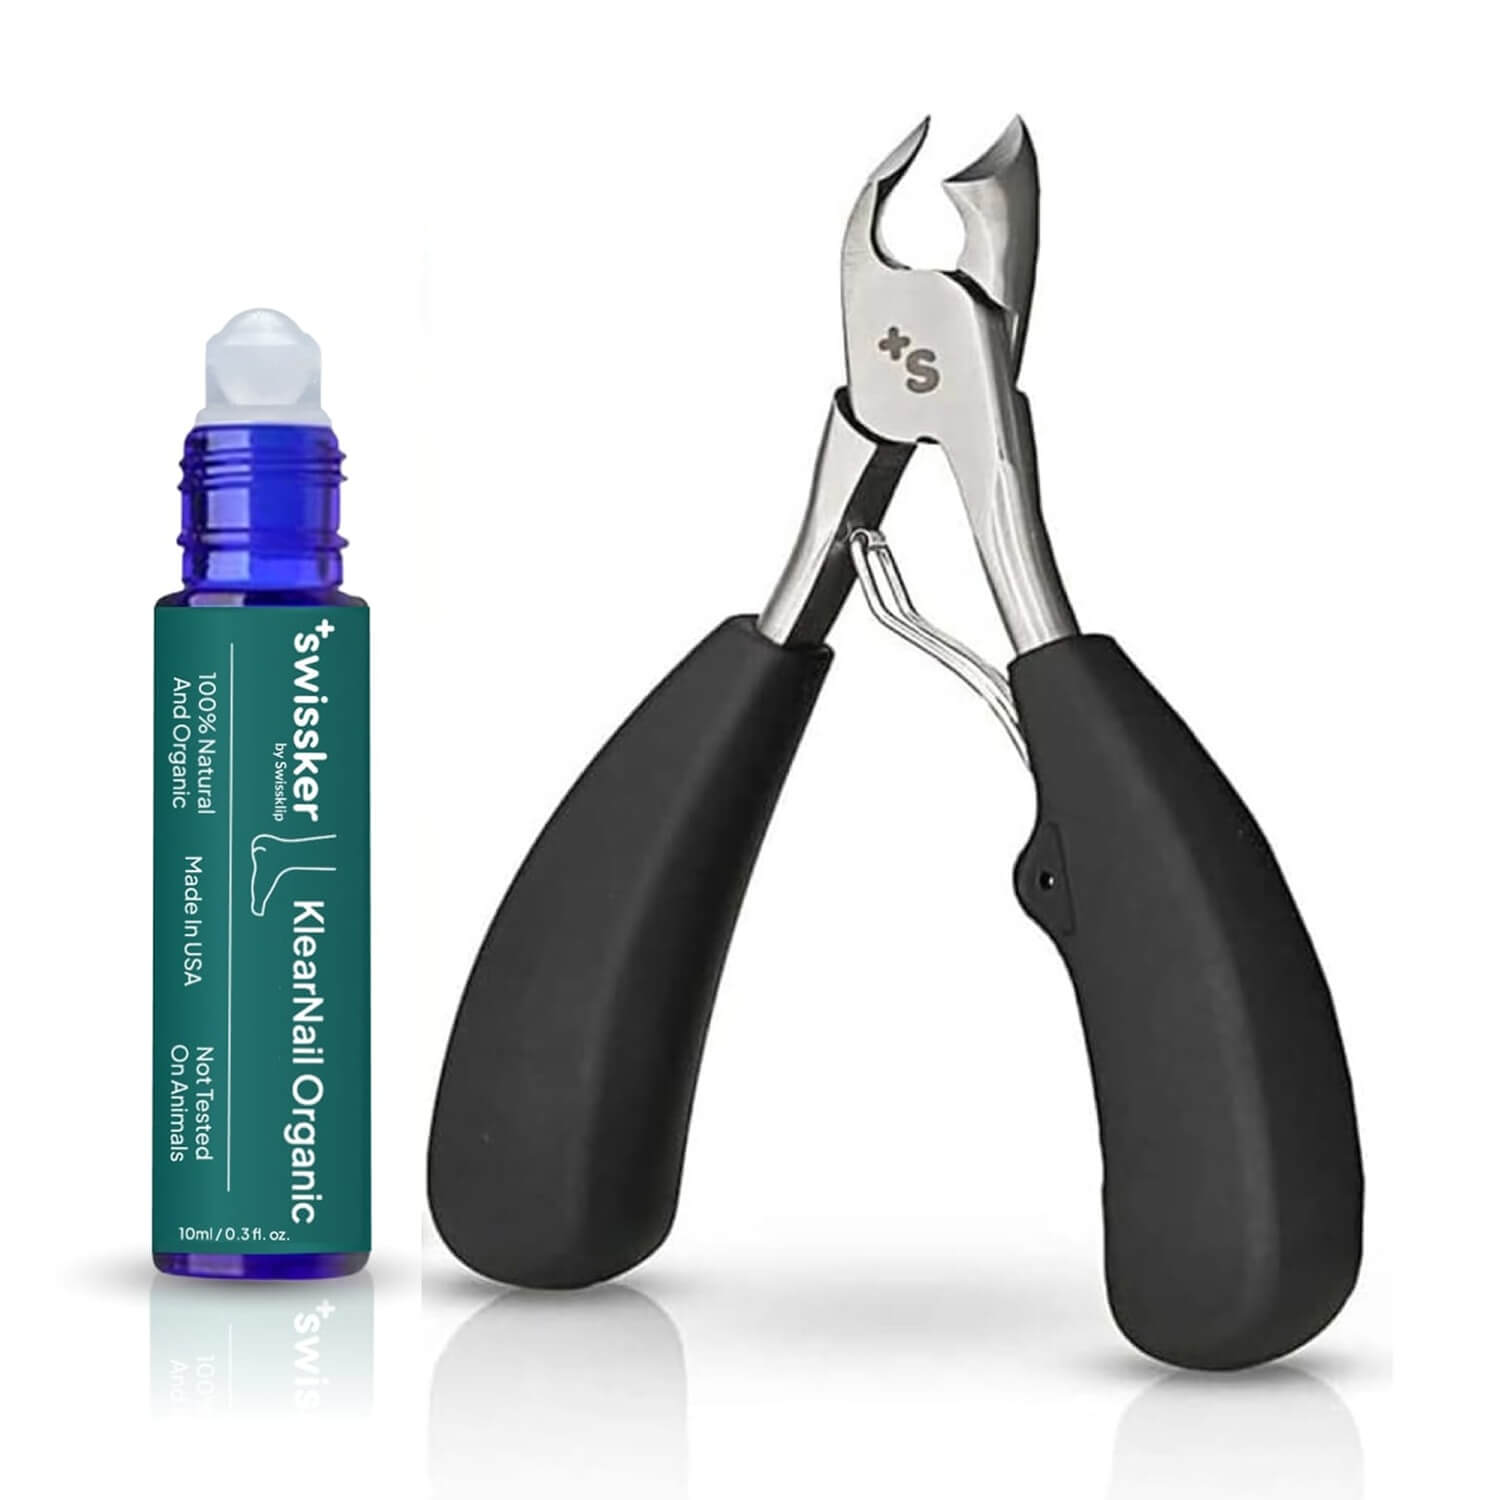
A roll-on solution that kills drug-resistant fungus on contact.

Achieve salon-quality smoothness and a dazzling natural shine

Can Nail Polish Cause Fungus? Myths vs Facts Nail polish
10 Hygiene Essentials Everyone Should Own Most people think they
